


They are there to bundle information and present it clearly. In Excel, PowerPoint, Word and Outlook you should be able to easily create graphics with their help and thus make information accessible at a glance. Nevertheless, they are frowned upon and unpopular by most power users. They are considered visually unprofessional and unattractive. This refers to SmartArt graphics in Office.
How to use SmartArt graphics effectively and efficiently with a few tricks
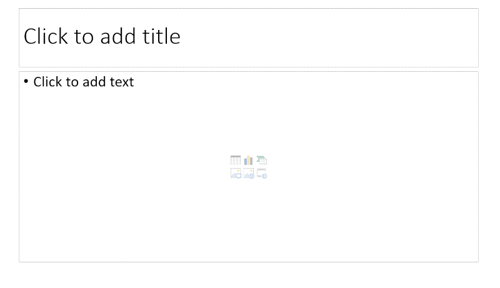
- Insert the information in a normal placeholder first. List all items, including any subitems.

- Then select the placeholder you are using. Now click on Start in the ribbon. Under "Paragraph" you can select "Convert to SmartArt".

- With mouseover you have the possibility to select different SmartArts. So you can already see how the SmartArt would look like with your own text when you drive over. So you notice immediately whether the graphics fit well or not.
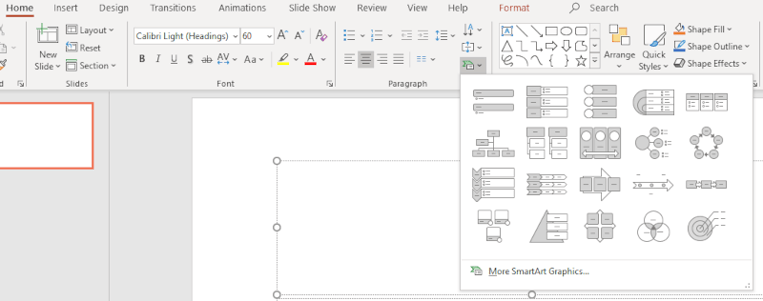
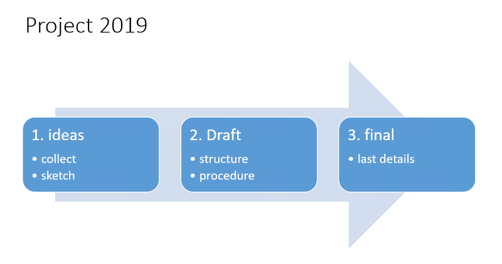
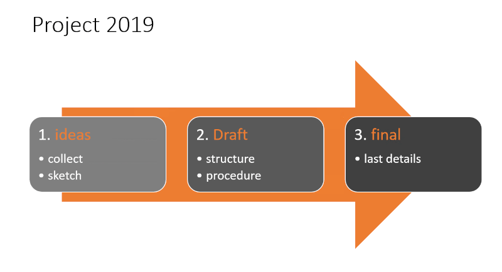
- We decide for the SmartArt graphic "Continuous block process".
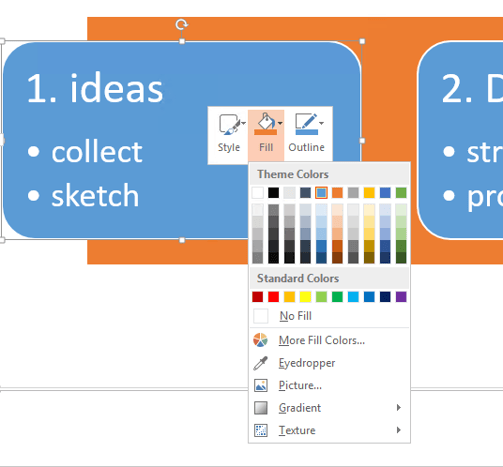
- We want to change our SmartArt graphic: the color of the arrow should ecome orange. Therefore click right. The font color can also be changed in this way.
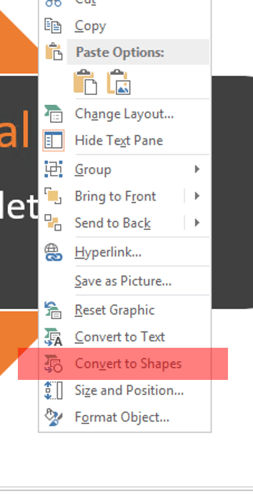
- Are you still not satisfied with your SmartArt? To further customize this, you can right-click the SmartArt to convert it into shapes. This means that your graphics are no longer SmartArt, but now you have full Control.
Our result:
Previous article
← Multilingual presentations with empower® Slides
Next article
Saving PowerPoint presentations as video →
Microsoft 365 vs. Google Workspace: which is more efficient?

Microsoft 365 vs. Google Workspace: which is more efficient?
February 22, 2023
5
min read
Create your own shortcuts in Microsoft Word

Create your own shortcuts in Microsoft Word
November 12, 2018
2
min read
PowerPoint icons: creating your own graphical elements

PowerPoint icons: creating your own graphical elements
October 26, 2023
3
min read